Sunday, 17 June 2012

A Beautiful Bundt & Perfectly Piped Swirls


I've had a fair bit of time on my hands this past couple of weeks. It's been kind of nice to see old friends and more of my lovely nephews but what to do when you find yourself with a bit too much time...? Renovating a chair is always an option if you agree with the eHarmony advert, as is watching the French Open tennis (better option, so I did some of that). Inspired by the force that is Nadal, I resolved to get back in the game and booked my orthopaedic surgeon appointment for my wrist and enlisted Kirstie to help me out with a gentle game of short tennis. And then, after I'd squeezed in a bit of schoolwork, I did the one other thing that I do best - I baked!
Firstly...

Carrot Cake Cupcakes

(taken from The Hummingbird Bakery cookbook by Tarek Malouf)


This recipe is for a large 20cm, 3 layer cake but I experimented with making cupcakes out of it recently and it worked brilliantly. You really must use greaseproof lined cases if you don't want a stained cup case though as the oil content is quite high.

Ingredients
(for the cakes)

300g soft, light brown sugar
3 eggs
300ml sunflower oil (I used 250ml - it just looked so much and had faith in my carrots being moist)
300g plain flour
1 teaspoon bicarbonate of soda
1 teaspoon baking powder
1 teaspoon ground cinnamon
1/2 teaspoon ground ginger
1/2 teaspoon salt
1/4 teaspoon vanilla extract

300g carrots grated
100g shelled walnuts (plus extra to decorate)

 Method

Preheat the oven to 170 degrees.

Put the sugar, eggs and oil in a freestanding electric mixer with a paddle attachment (or use a handheld electric whisk) and beat until all the ingredients are well incorporated (don't worry if the mixture looks slightly split). Slowly add the flour, bicarbonate of soda, baking powder, cinnamon, ginger, salt and vanilla extract and continue to beat until well mixed.

Stir in the grated carrots and walnuts by hand until they are all evenly dispersed.

Pour the mixture into the cupcases (no more than 2/3 full).

Cook for about 20-25 minutes or until they are fully risen and a toothpick inserted comes out clean and the tops bounce back to the touch.

These quantities made about 20 cakes.
Once cooled you can frost them. Cream cheese frosting is perfect for these and I like the Hummingbird Cream Cheese Frosting recipe so I used that:-
These quantities frost about 12 cupcakes according to the cookbook, I trebled the quantities below (but I did had frosting leftover).
300g icing sugar, sifted
50g unsalted butter, at room temperature
125g cream cheese, cold

Mix the butter and icing sugar together, then gradually add the sifted icing sugar.
Wendy Kitchenaid made light work of this as always :)
Then you need the PERFECT NOZZLE! This is vital. Using a disposable piping bag, I like to use either a big, soft swirl nozzle or a Wilton 1m nozzle (no need for a "coupler" especially). You can buy them from here:-
And what you do is fill the piping bag fairly full by stretching it over a glass and smooth a little frosting to the edge of the cases with a palette knife. Then, with the piping bag in an upright position begin at the centre, apply consistent pressure and make a complete swirl pushing down slightly at the end to finish the swirl.

But one cake variety is never enough so I made Chocolate Bundt Cake (whilst feeling very guilty for still not returning Priya's tin). It will come back to you soon Priya, honest!
And the recipe I got from the marvellous Shutterbean website. I love, love love Tracy Shutterbean and Joy the Baker (Wilson) and their podcast keeps me amused on many a car journey.
I will re-type Tracy's bundt cake recipe as I have converted the U.S quantities into their U.K equivalents but you can see the original step-by-step process here (also love her flower idea - classy!)
But, if you'd rather the U.K quantities, here they are...

Beautiful Chocolate Bundt Cake


For the Cake
2 sticks of butter (230grams) - plus more for the pan.
1/3 cup of cocoa powder (45grams)
1 teaspoon salt
1 cup water
2 cups plain flour (plus more for the pan) 300g
1 3/4 cups sugar (360g)
1 1/2 teaspoons baking soda
2 large eggs
1/2 cup sour cream (150g) (used a 150ml pot)
1 teaspoon vanilla
For the Glaze
4 oz dark choc (115g)
1 1/2 tablespoons agave
1/2 cup of double cream
1 1/2 tablespoons sugar

Make the Cake:

Position a rack in the centre of the oven and heat to 350 degrees (180)

Butter and flour a 10 or 12 cup bundt pan and set aside.

In a small saucepan, combine the butter, cocoa powder, salt and water and put over medium heat. Cook, stirring, just until melted and combined. Remove from the heat and set aside.

Put the flour, sugar and bicarbonate of soda in a large bowl and whisk to blend. Add half of the melted butter mixture and whisk until completely blended (it will be very thick). Add the remaining butter mixture and whisk. Add the eggs one at a time, whisking each to blend completely before adding the next. Whisk in the sour cream and vanilla until smooth. 

Pour the mixture into the prepared pan and bake until a toothpick inserted into the centre of the cake comes out clean (40-45 minutes).

Let the cake cool in the pan for 15 minutes and then invert onto a rack. Let cool completely before making the glaze. 

Make the glaze:

Put the chopped chocolate and agave nectar into a medium bowl and set aside. 

Combine the heavy (double) cream and sugar in a medium bowl and put over medium heat. Stir constantly until the cream is hot and the sugar is dissolved. Pour the hot cream over the chocolate and whisk until melted and smooth. If it's very runny, let it sit for a minute or so to thicken. Drizzle (I slathered) the glaze over the cake.
Then I decorated mine with lovely sprinkles and silver balls - ahhhhh!


Happy Birthday to me!

I did have 16 others helping me out with consuming these treats though (just so you know!)
And I got so many lovely cards and gifts but this one from Kay is definitely sums up my outlook for the year ahead...


And finally, I got this amazing print from my sister's family and my parents.
I cannot wait to hang it up above Wendy - how totally retro American cool is this...!
It's by Patrick Edgeley from this website and appears to be scrolling across their homepage at the moment!


So that's it, another year older, another year wiser! I'll confess I was a bit nervous about turning 34 but now it's here, how do I feel...? Exactly the same! Roll on 35; if only because I'd like a print for my study...

J :)

Saturday, 17 March 2012

New Life Cupcakes

I like a personal challenge; who doesn't...? Well, a personal goal was to make this blog a reality and keep it going for a year, posting about once a month; then my undisclosed plan was to put it to bed and tick it off the list. The only thing I didn't manage was the final post in December. So, I've changed my mind and decided that what I'll do instead is just pick it up if and when there are projects worth mentioning.

A few weeks ago my sister had a baby shower in preparation for the arrival of her 2nd baby. She was threatening games to "identify the food in the nappy" or "pin the nappy on the baby". It takes all sorts...! Luckily, none of that transpired; it was a tame affair with an enormous Chinese takeaway and a pretty large amount of cupcakes made by yours truly.

I wanted a theme that wasn't too cringing or tricky - and as I was looking at toppings in Sainsbury's the idea came to me... butterflies! And a few egg themed cakes as there's plenty of Easter stuff about at the moment. "New life Cupcakes" if you will..... you HAVE to know I am saying this tongue-in-cheek!

So, I'm sure everyone has seen Mini egg nest cakes but why not butterfly-it-up with some "Giant Snowies"...


My cupcakes are the chocolate ones from "Cake Days" and the frosting is the following:-

http://allrecipes.com/Recipe/Creamy-Chocolate-Frosting/

I did, however have to add a lot more icing sugar than the recipe suggested - it was way too runny!
I am still in search for the ultimate chocolate frosting recipe...

Or how about white chocolate button butterflies...?


These have silvversppon chocolate sprinkles; if I'd have had the Wilton Jimmys they'd look better.
And, as I always have to have a fruit option here are the lemon cakes with orange and lemon butterflies made with Silverspoon jelly sweets:-


I think the crowd liked the Cupcakes :)


On a more sombre note, just before Christmas I had another kitchen bereavement:-


R.I.P my little Russel Hobbs mixer! I think that totals 6 hand mixers in the last 2 years that have been burnt out through overuse! :S

However, continuing with the "New Life" theme... Meet Wendy! :)


My very own KitchenAid in that 1950s-esque soapy blue. I love, love, love her!

And so does everyone else as soon as they set foot in my kitchen.

I'm a very lucky lady to have such beautiful kitchen gadgetry.


Jo :)

Sunday, 13 November 2011

...so cute I cried!

(That was my feedback to the eBay seller who I got my latest cupcake boxes from!)
They are absolutely adorable! I've given out several already. In fact I hung on to write this post as it may have been seen by Fiona, Sarah, Karen, Kellie, David, Nicola, my Dad... Actually the last one is a lie, my Dad can't text, I sincerely doubt he's following my blog, but anyway I am now able to tell the world about meri meri products without the fear of spoiling a gift surprise.

So I stumbled on meri meri (an award winning designer of paper products) by seeing their stuff in a gift shop in Clifton and then finding more of it for sale on the web. So enough of the suspense... here is the "Patisserie shop" gift box that houses 4 cupcakes:-


Just look at that little window showing my raspberry cakes for Kellie :)


And here it is in it's full glory with it's mega-cute sloping roof with ribbon tie. Ahhhh!

And there's more, lots more, here on their lovely website:-

http://www.shopmerimeri.co.uk/

I bought the stripy ones and the flower shop that may well turn up at your home if you know me in real life.

I do however, tend to buy a lot of plain white boxes and embellish them for different occasions.
Here was Monty's 12 birthday cupcakes for his 2nd birthday party:-


Not a great photo but you can get the general idea of a 12 box of cakes with ribbon.

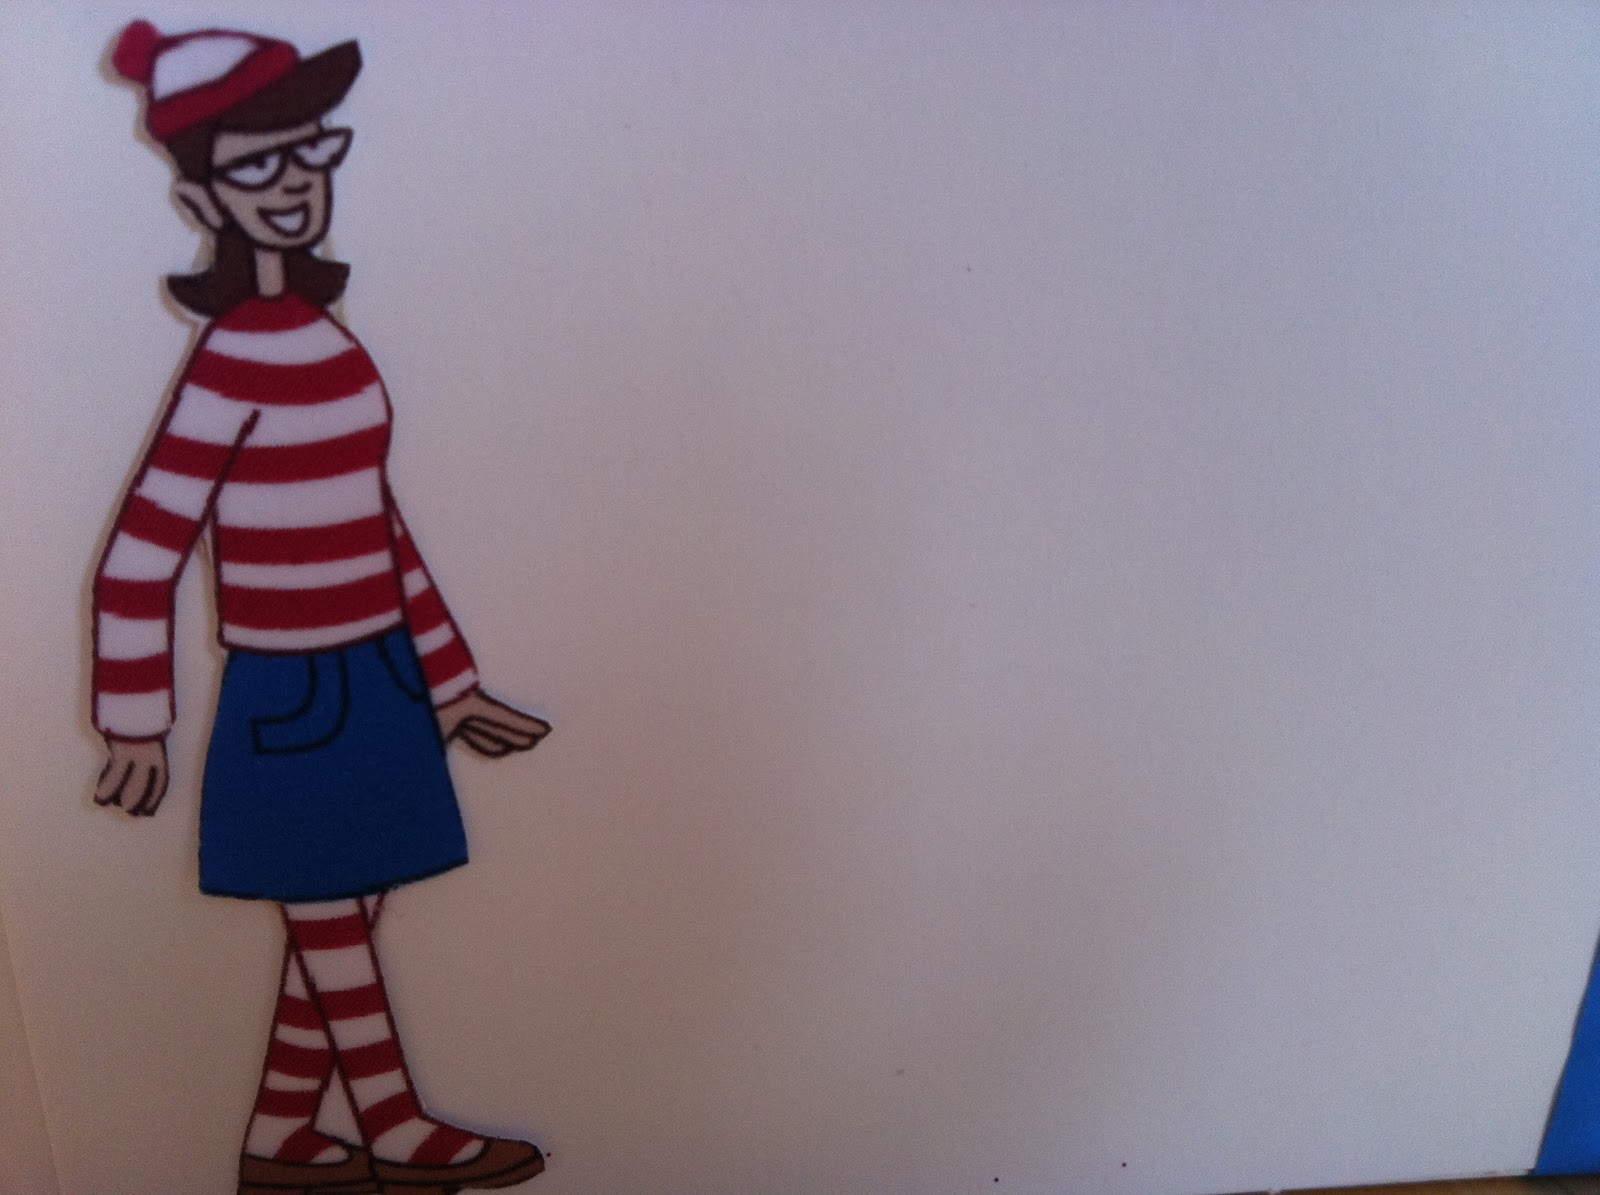
And when I took the creativity a bit further I added some embellishments to a white cake box for a "Where's Wally?" party by printing some pictures off the Internet and coordinating some parcel tie:-


4 red velvet cupcakes with a chocco topper and red edible glitter.


And here's the sides you can't see in the above picture
(I forgot to photograph the Wally dog - apologies!)


It's making me a bit sad looking at these pictures; they had the last of my Dr Oetker (unnatural) red food colouring that has seen me through many a batch of successful red velvet cupcakes. I know I should be alarmed that the whole of Europe felt the need to ban it's e numbers but I just want the stuff back - nothing else comes close to making cakes red and if it does it tastes of beetroot or chili or has crushed beetles in it.

Anyway, back to the boxes...

I also made a lemon individual one, that had no banned substances in it whatsoever:-


So I think that is pretty much all the cupcakes I have been making, except for the mammoth amount for the Cancer research charity softball-athon:-


Thanks again if you sponsored me for my bake-off or if you came up to Ashton court to support and buy a cake.

Clearly a lot of my life is taken up with baking and I made the decision a couple of days ago to have a "cake break" just temporarily, in case I got so big that I needed to be craned out of my house. My dreams occasionally flit between this eventuality and new frosting varieties; I really must stop watching videos of kitchenaids just before bed too - that's not helping! And then it was Nicky's birthday, and I tried to explain my "cake break" whilst giving her 6 wrapped clementines (needless to say the clementines didn't quite get the same reaction as the cakes she had last year). I'm "that girl" who brings cake. I'd have been confused if I was her too; awkward!

And then I got this really lovely book as a thank you for some lemon cupcakes I made and it's opened up a whole new world of Christmas cupcake ideas and, well, I'm just going to have to really, aren't I.....!


Right, I should go now because I have miniature robins to source from eBay for a December project.

J :)

P.S. Nicky, tell me what cake(s) you want! ;)

Sunday, 4 September 2011

This was GOOD beetroot!

I've lapsed! For the first time in 2011 I didn't post anything on my here for a whole month, and the ironic thing is, I had more free time during August because of the school holidays than at any other point in the year! Nevermind, it's very early September and I enjoyed my holiday and so many things food and Art related that hopefully, I've plenty of things to blog about over the next few months :)

One of my Summer highlights was to have a dinner party for 4 friends and they all got to have this lovely beetroot. My inspiration came from an article that I ripped out of "Flavour" (a freebie foodie mag for the South West). I'm not sure if they still give them out for free and if they do where, but when I saw this recipe I knew instantly that it would be a great starter. I'm a recent convert to the merits of beetroot, mainly because the vac-packed pickled variety I tasted as a child did nothing for me then, and does nothing for me now. Fresh beetroot, however, is just amazing paired with cheese and salads. If you like goats cheese and beetroot, you'll love this - if you're unsure of those things I still think you'll like it. It's a brilliant mixture of flavours and it just looks so pretty...


So... if you would like to make Beetroot Carpaccio with Creamed Goats Cheese here's how:-

Quickly, before I begin I should say that this recipe had 3 beetroot stacks in mind, I felt, however that 2 was enough, but presenting even numbers never looks good on a plate. As I was debating the assemblage of them, Fiona had the genius idea of serving a "double decker" with the beetroot circles - perfect!

Oh, and the instructions recommended wearing rubber gloves not to stain your hands purple. I found them too slippery though and opted to just scrub my hands as best I could afterwards.

Ingredients

2 large raw beetroots
450ml (15fl oz) red wine
100ml (3.5fl oz) ruby red port
2 tbsp creme de cassis (optional)
225g (8oz) soft goat's cheese, any rind removed
3 tbsp basil oil
1 tsp snipped fresh chives
4 tsp balsamic syrup
1 punnet of salad cress
1 small granny smith apple
4 tsp toasted pine nuts
Maldon sea salt and freshly ground pepper

1. Place the red wine in a large pan with the port, creme de cassis (if using) and the sugar*. Bring to the boil, then add the thinly sliced beetroot and cook for 8-10 minutes or until just cooked through. Leave to cool in the cooking syrup, then place in the fridge overnight if time allows. Once marinated, drain the beetroot well and reserve the syrup to use again for poaching pears or plums or for marinating more beetroot.

2. Place the goat's cheese in a food processor with 2 tablespoons of the basil oil and blend until soft. Stir in the chives and add salt and pepper to taste. Spoon into a piping bag fitted with a 2.5 cm (1 inch) plain nozzle and chill for 10 mins to help the mixture firm up.

3. Immediately before serving, core the apple and shred into very fine strips. Drizzle each plate with a little balsamic syrup and arrange 3 slices of beetroot next to each other on top. Pipe the creamed goats cheese onto the centre of each of the beetroot, carefully placing another slice on top of each. Cut the salad cress with scissors and scatter on top with the apple strips and pine nuts, then drizzle over the remaining basil oil.

*There was just one problem with this recipe... it didn't say how much sugar to use to marinade the beetroot in. I used a tablespoon in the hope that the creme de cassis would add sweetness. I think it was about right. If you don't use that blackcurrant liqeur I'd definitely add a bit more sugar.


And here is the whole thing in it's entirety...


And a side-on picture, that does, I admit make them look a bit like oreos.

As soon as you plunge the cutlery into it, it bleeds the lovely juicy syrup all over the cheese and stains it purple to remind you it's beetroot though!  


And that's about it, except for a link to Flavour magazine...
http://www.flavourmagazine.com/bristol/index.html


J :)


Friday, 29 July 2011

"The King" of cakes

Tonight my Mum's friend Genie is having a 60th birthday party. Somehow I ended up with the task of making 75 "Elvis themed" cupcakes for Genie as she is a huge Elvis fan (she even goes to watch him as a hologram on stage!) When I was given the cake brief a couple of weeks ago my mind started racing with the prospect of icing moulded into huge quiffs, music notes and stars cut from royal icing and maybe even making some cakes based on titles of his songs like "Hound dog" and "Jailhouse Rock".
However... my Mum knew I'd take any project to extremes so she quickly intercepted and said "No Joanne, your sister is going to order you some Elvis heads on Sugar paper from eBay, bit of frosting, plonk one on top, done! I was reluctant and didn't think I'd bother with a blog post, but...

I'm pretty damn proud of my "kings".

The Elvis heads arrived on sturdy sugar paper in sheets of 12...


Then I just needed to cut them out (all 75 of them!) I caught Jeremy fiddling with a "Donny Osmond head" in work last week. (What a sentence!) I presume he had some kind of food gift for Sue (who is a big Donny fan). It was lucky that Jeremy was hovering around the fridge the same time as me actually, as he was desperately trying to chill and peel the Donny head, until I pointed out that he just needed to cut the head free.

Moving on...

So I made 4 double batches of lemon cupcakes with a lemon curd centre and topped them with cream cheese frosting. I bought jet black cupcases, mainly because they were the cheapest greaseproof lined muffin cases in Occasion cakes, but they turned out to be a great choice. The black seemed quite rock'n'roll and was inkeeping with vinyl records I thought. It also contrasted well with the pale cream frosting. Then I bought "graphite" coloured edible glitter that also looked a bit "rock'n'roll" . I gave my Mother (apprentice helper) strict instructions to sprinkle the glitter from a height and then add the Elvis heads. Placed directly on top they looked weird, but when you pushed them down a bit into the frosting the heads looked "framed". I was pleased, very pleased.

And they went into the fridge to set...

And then got boxed, which always makes them look like a lot:-


Except for when you make 3 boxes full and that really does look like a lot...


75 Elvis cakes... done!

And now I'm thinking about whether you can buy sugar paper faces of your friends and family, I've seen people take a photo into the Asda bakery for birthday cakes before... or maybe I buy myself an edible ink printer like Bakerella has.

Even with an edible ink printer I'd struggle to make these though...
How cool are they....!

So the Elvis cakes are on their way to Wales and the cake stand is on loan again. The only things I'd have added if I'd been there to construct the cake tower would be to put the stand onto a section of bright fur fabric and plonk a small model Elvis on the very top tier which holds one cupcake. If only I'd kept my "Rockin' Elvis" from my Micra driving days...

And if you don't fully see the importance of Elvis cakes, listen carefully because "Percy"; the biggest Elvis fan I know, told me this important fact:-

‘The number of Elvis Presley impersonators has reached an all-time record high – there are now at least 85,000 Elvis’s around the world, compared to only 170 in 1957 when he died. At this rate of growth, experts predict that by 2019 Elvis impersonators will make up a third of the world population.’
Remember this blog post...

J :)

P.S. If you're looking for more Elvis themed food, try this...


Thursday, 28 July 2011

Anyone for tennis cakes....?

I'd originally planned to make these for the Wimbledon finals but for one reason or another I just didn't get around to it. Then it was the end of season tennis dinner last Friday so I decided to make these and sell them for Chris's charity....

Tennis Ball Cake Pops.


Step 1... (The tennis court)

To make the court I bought a chunk of AstroTurf from B+Q and a paper box from IKEA. Then I marked out a tennis court on the back of the A4ish section of Turf, dug holes at every corner with a bradawl and a screw driver and sewed a tennis court outline onto the astro turf with a bobbin and some string. Then I plonked an A4 chunk of polystyrene underneath the astro, to dig the lollipop sticks into later.
I could've done with fashioning a miniature net, I know, time ran out though sadly.


Step 2... (The cake)

Then I made the "Buttermilk Poundloaf" from The Hummingbird bakery cookbook and when it had cooked I mixed the crumbs of this with a batch of vanilla frosting (recipe from the same book) and rolled together small balls.


Step 3... (Making the "tennis balls" yellow)

After making the cake balls I dipped the lollipop stick into a small amount of the melted yellow "candy melts" that I had purchased from Hobbycraft online...
http://direct.hobbycraft.co.uk/search/candy%20melts
These are basically tinted chocolate that melts easily (it has a high oil content). Food dye added to chocolate splits and is hard to work with. These melts are far from natural and I thought I'd dislike the taste, I didn't though, they tasted just like a caramac from yester-year.

Step 4... (Finishing touches)

Put the cake pops in the fridge and when they have set, use a Dr Oetker or Silverspoon icing device to pipe on the rubber detail. I also bought a black pen with edible ink to draw on a Wilson, Nike or Slazenger logo but the damn thing didn't work at all. Then I used a small black cake gel and these smudged too, it had to be just a sprinkling of edible glitter and that was all.

Step 5... Arrange cake pops into pre-prepared holes in astro court.


Step 6... Use mini "Wilton" cellophane bags to wrap a cake pop in, and tie with gold curling ribbon.


In addition I made...

Tennis ball cupcakes.


These were lemon, with a lemon curd centre and cream cheese frosting.
I then made "toppers", which are a candy melt with rubber detail piped on as though they are a tennis ball. I was really very lucky that they hadn't melted in the post as the packet warns they often do and then I'd have obviously had one big chunk of yellow, not loads of little round yellow buttons that just said "tennis balls in waiting" to me. (God, I'm weird!)


Then I squeezed them all into the fridge overnight...


Finally, I stacked them onto Kellie's wedding cupcake stand. I had a lot of AstroTurf left over from my court (you could only buy it in a strip 2 metres in length) so I displayed the tower of cakes onto a faux grass table-runner...


And I also made a few signs to tell people what they were and how much they cost... (mini frames from IKEA) and got some takeaway cartons, gift boxes and green serviettes.


Game over!

Now I need to think about what I'm going to make for Ant's charity Softballathon...

J :)

Monday, 13 June 2011

Creative Cartography

Cartography... it's the sort of word you know if you're a Geography teacher, or if you've had the question in a pub quiz. Cartography = maps, and I wasn't surprised when my sister (who is a Geography teacher) was asked by the Art teacher at her school if she had old maps that her kids could cut up for a project. Maps are pretty, they're also personal with locations holding memories, and I'm noticing them being used more and more for cards etc.
So, where am I going with this... I wanted to make Kellie a wedding card that was a bit different and I thought I'd bring in this map idea. The idea would mean acquiring a map of where she's from and where her now husband hails from. This, I quickly discovered would mean £18 if purchasing Ordnance Surveys; that's one expensive card! Instead, I had to compromise by using google images to find the appropriate map sections and then printed them off my computer.
Then, I nicked an idea I saw in a Clifton village gallery and found a silhouette for a man and woman by having a search around the net. I printed the silhouette outline onto the samples of maps and cut them out. The first silhouette I started cutting out was really fiddly and it had too much detail, which took away from the
detail from the map. I kept it simple and chose "toilet door style" icons.
Then I stuck them onto card and triple mounted them with some of the different cards and papers that I had leftover from making Karen's wedding invites a few years ago. The result was this:-


The Bristol man worked the best I think, with 'Mark' having a 'Mangostfiled leg', 'Oldbury Court head' 'Cleeve Hill' torso and 'Frenchay and Staplehill' arms... 'Kellie' is just a kind of indecipherable Caerleon, but a very pretty one I think, with a bit of a pink and blue leg.


I've seen a similar idea with pictures and cards from 'Not on the High Street'...


 These are £8 and £12 and 150 people have reviewed them on there so I can't imagine how many people have bought them.. a heart is so easy to cut out too!

And some other nice cartography... when I was in Seville all the ladies were walking around with traditional little hand fans and in the window of one of the cutest shops I have ever seen was this one made out of a map of Seville...


I would've gone inside and got a better picture but the shop was shut for the 2 days after we noticed it - Annabel and I nearly cried looking at all the amazing things inside that we couldn't go look at! I might just have to book another city break so I can go back and visit it...

And then I thought, well, I might as well print off another page of a map for the location that Mark and Kellie will be living at now (to wrap their wedding gift in...) It's a small gift, but then, I did make them a lot of cupcakes for their big day:-


 In the end I actually wrapped the gift in bubble wrap and white tissue paper,
then printed the map onto tracing paper and tied with black curling ribbon.


And they lived happily ever after... ( just off the M32).

J :)